


Did you know that your body’s energy and needs change throughout your menstrual cycle? Movement is beneficial during every phase, but the type and intensity of exercise can vary depending on where you are in your cycle. By syncing your workouts with each phase, you can enhance both your physical and mental well-being.
In this guide, we’ll explore specific yoga poses tailored to each phase—menstruation, follicular, ovulation, and luteal—to help you feel balanced and supported throughout the month. Let’s dive into how you can move with your cycle, honoring your body’s natural rhythms every step of the way.
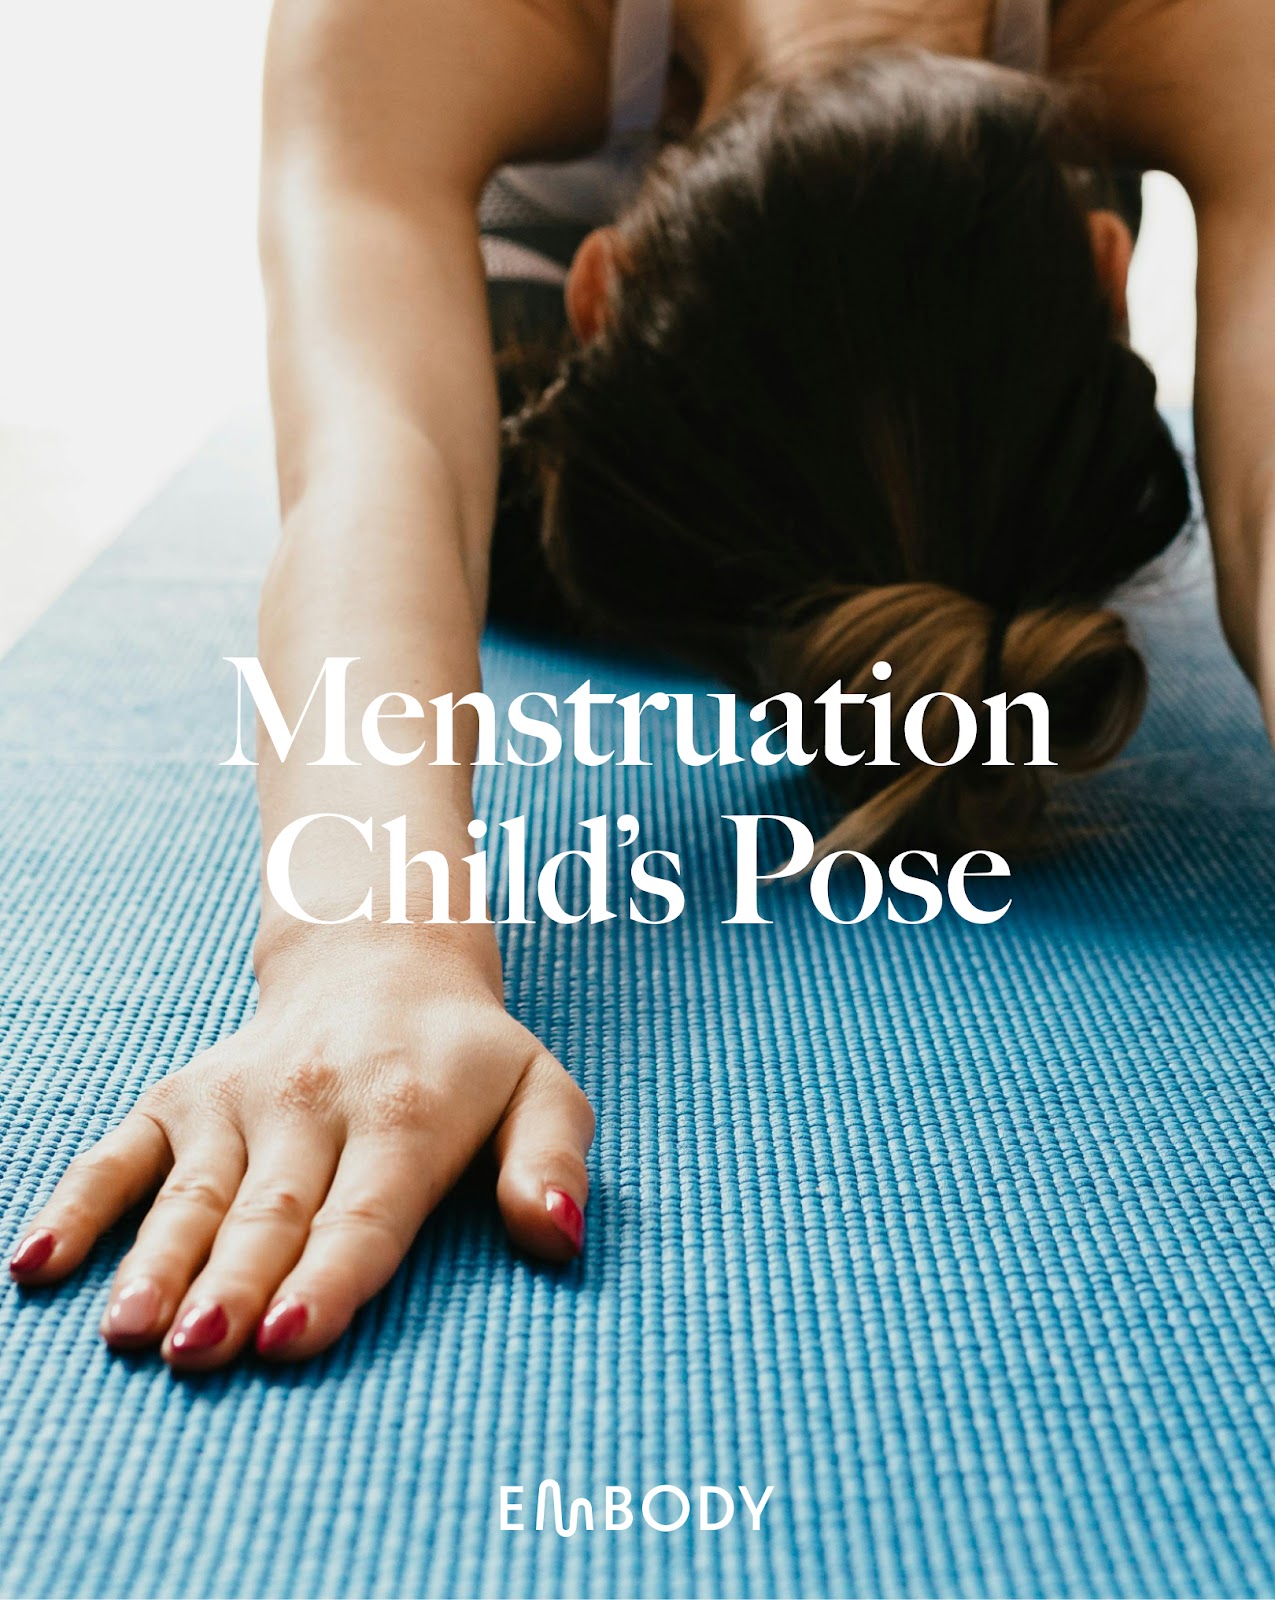
Menstruation: Child’s Pose (Balasana):
- Start on your hands and knees: Begin in a tabletop position with your wrists aligned under your shoulders and your knees under your hips.
- Lower your hips back: Gently sit your hips back toward your heels. Spread your knees wide apart, keeping your big toes touching.
- Reach forward with your arms: Extend your arms straight in front of you, palms facing down on the floor, while lowering your forehead to the mat.
- Relax your body: Let your chest and belly sink towards the floor. Close your eyes, and relax your shoulders and jaw.
- Breathe deeply: Take slow, deep breaths, feeling the stretch in your lower back, hips, and arms.
You can hold this position for as long as it feels comfortable, using it as a gentle rest or a stretch.
Want to learn more about how to care for yourself during each phase of your cycle? Download the Embody app today!
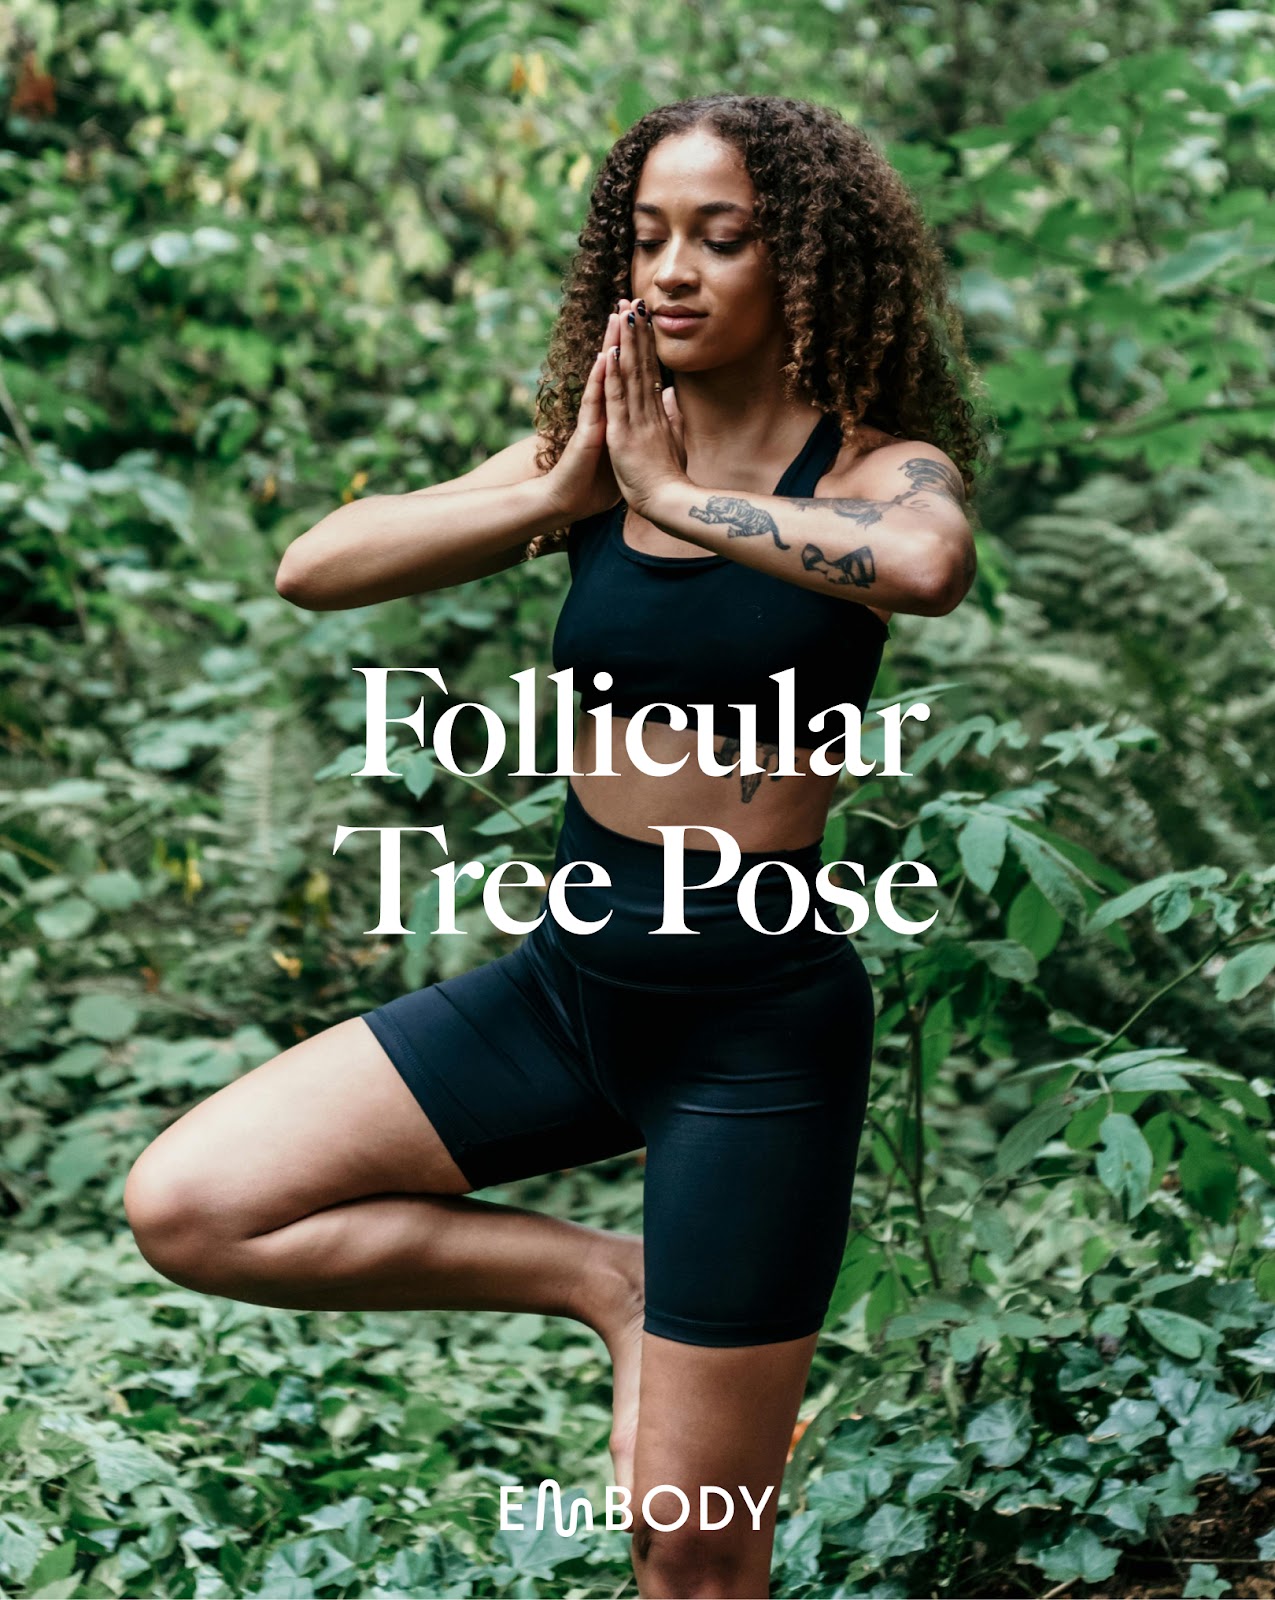
Follicular: Tree Pose (Vrksasana):
- Start in a standing position: Stand tall with your feet together, arms at your sides, and distribute your weight evenly across both feet.
- Shift your weight: Slowly shift your weight onto your left foot, keeping your leg straight but not locked.
- Lift your right foot: Bring the sole of your right foot to the inside of your left thigh or calf (never on the knee). If balance is tricky, you can place your foot on the inside of your ankle instead, with your toes touching the floor.
- Find balance: Press your foot into your thigh or calf, and press your standing leg into your foot. This creates stability.
- Raise your arms: Once stable, inhale and bring your hands together in a prayer position at your chest. For an added challenge, you can raise your arms above your head, either keeping your palms together or stretching them wide apart.
- Breathe and focus: Find a focal point in front of you to help maintain balance. Take slow, steady breaths as you hold the pose.
- Repeat on the other side: After holding for a few breaths, slowly lower your foot and repeat on the opposite side.
This pose helps with balance, focus, and strengthening the legs and core.

Ovulation: Triangle Pose (Trikonasana)
- Start in a standing position: Stand with your feet about 3-4 feet apart. Turn your right foot out 90 degrees, so your toes point toward the top of the mat. Keep your left foot slightly angled inward.
- Raise your arms: Inhale and extend your arms out to the sides, parallel to the floor, with your palms facing down. Your arms should be in line with your shoulders.
- Reach forward: Shift your torso forward over your right leg, reaching your right arm toward the front of the room while keeping your body in the same plane. Keep your legs strong and your spine long.
- Lower your right hand: Lower your right hand to your shin, ankle, or the floor (outside or inside your right foot), depending on your flexibility. Ensure you don’t collapse your chest.
- Extend your left arm: Reach your left arm straight up toward the ceiling, creating a straight line from your left hand to your right. Turn your head to look up at your left hand, or keep your gaze forward if that’s more comfortable for your neck.
- Engage and stretch: Keep your legs straight but not locked, and actively press your feet into the mat. Open your chest and lengthen through both sides of your torso.
- Breathe and hold: Take slow, deep breaths, holding the pose for several breaths.
- Come out of the pose: Inhale and return to standing, bringing your arms down. Repeat on the other side.
This pose helps stretch and strengthen the legs, hips, and spine while improving balance and stability.
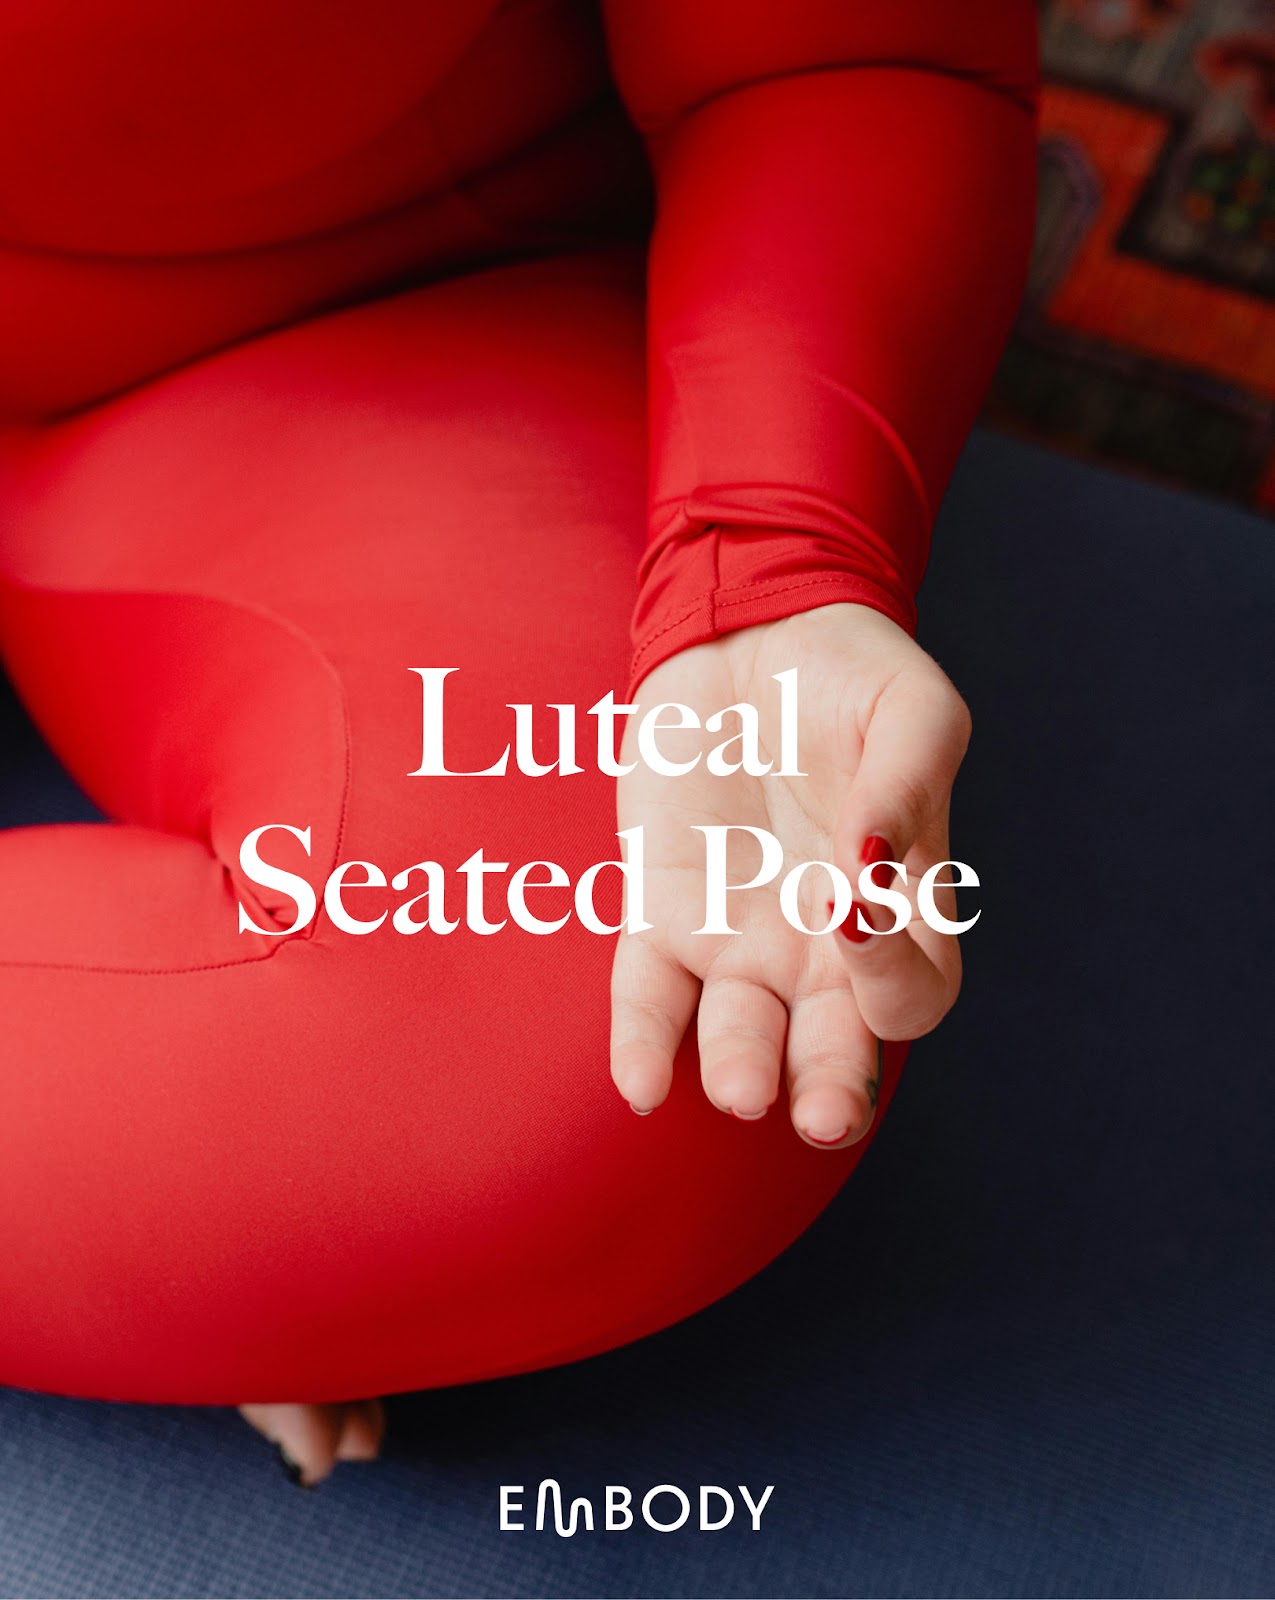
Luteal: Seated Pose (Sukhasana)
- Sit on the floor: Begin by sitting on the floor with your legs extended straight in front of you. You can use a folded blanket or cushion under your hips for added comfort and support.
- Cross your legs: Gently cross your legs at the shins, bringing your feet underneath your knees. Let your knees naturally relax towards the floor. If this is uncomfortable, you can place cushions under your knees for support.
- Lengthen your spine: Sit up tall, lengthening your spine. Imagine a string pulling the crown of your head toward the ceiling, keeping your shoulders relaxed and away from your ears.
- Rest your hands: Place your hands on your knees or thighs, palms facing up or down, whichever feels more comfortable.
- Relax and breathe: Close your eyes, if comfortable, and take slow, deep breaths. Relax your body, but keep your back straight and your posture strong.
- Hold the pose: Stay in the pose for several minutes, focusing on your breath and maintaining a relaxed but alert posture. If your legs get tired, switch the cross of your legs and continue.
Seated Pose is a foundational position for meditation and breathwork, promoting relaxation, focus, and improved posture.
Download the Embody app today!